Introduction
Removing a hard drive can appear intimidating at first, particularly if you’re new to dealing with computer hardware. However, with the appropriate tools and a step-by-step plan, anyone can complete this task efficiently. Whether you’re upgrading to a newer model, resolving a hardware issue, or preparing for data retrieval, understanding how to safely remove your hard drive is paramount. In this thorough guide, we’ll guide you through easy-to-follow steps, paying special attention to safety precautions and post-removal considerations.
Understanding the Reasons for Hard Drive Removal
Hard drive removal isn’t something you’ll do frequently, but certain situations necessitate this operation. Upgrading your computer to a larger storage capacity might require switching from an HDD to an SSD for increased efficiency. Alternatively, troubleshooting persistent hardware issues could involve testing your drive in a different setup. Additionally, when dealing with a defunct device, removing the drive allows for data recovery or secure disposal. Being informed about these scenarios will enable you to approach the removal process with confidence.
Preparation and Safety Measures
Preparation is critical to ensure a smooth and successful hard drive removal experience.
Essential Tools for the Task
- A small Phillips screwdriver
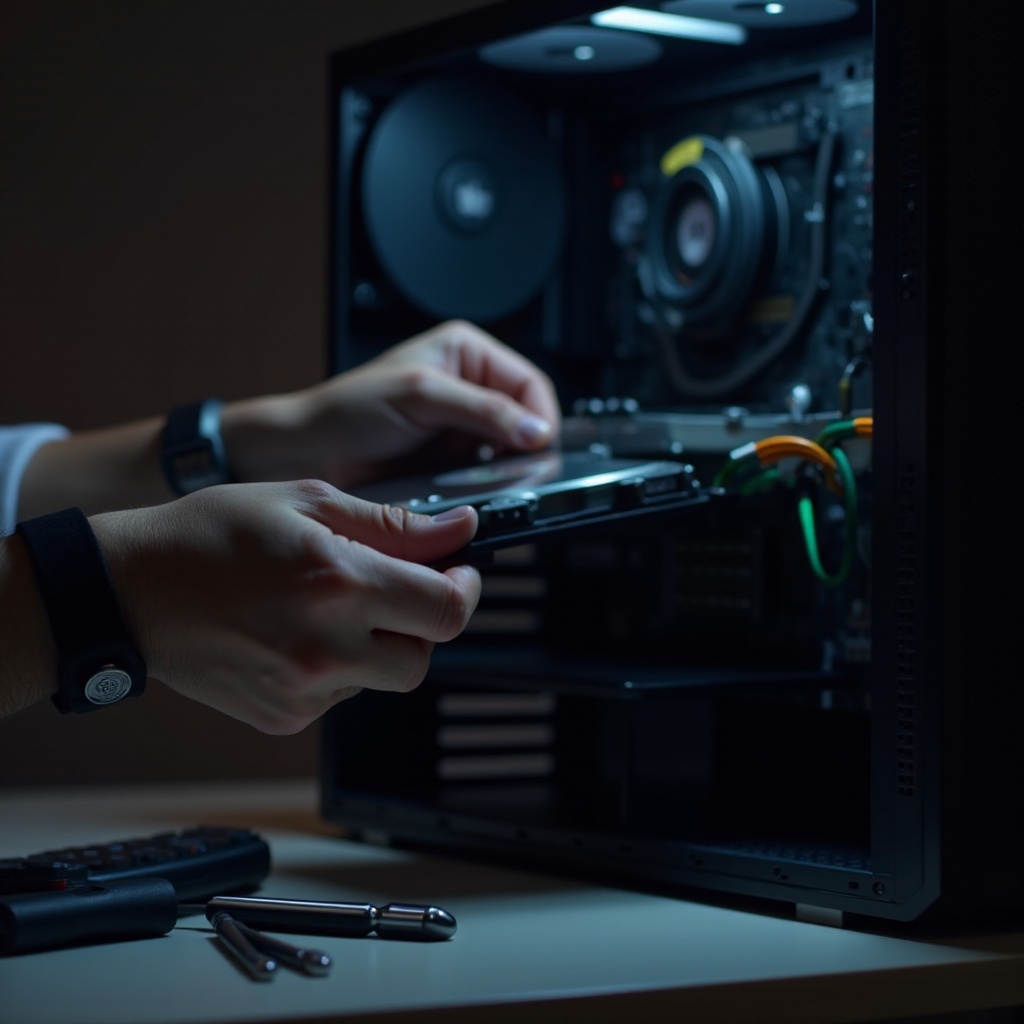
- An anti-static wrist strap to mitigate static electricity damage
- Containers for holding screws and small components
Critical Data Backup Steps
Always backup your data before beginning the removal process. Use reliable cloud services or an external hard drive for this purpose. Verify the backup on another device to confirm its integrity.
Implementing Safety Precautions
- Thoroughly shut down the computer and disconnect it from any power source.
- Wear an anti-static wrist strap to protect against static damage.
- Operate in a clean area devoid of dust and moisture.
By adhering to these measures, you ensure the protection of both your data and the computer’s hardware components.
Grasping Computer Types and Hard Drive Formats
Familiarity with your computer and hard drive type is beneficial when undertaking this task.
Differentiating Between Desktops and Laptops
Desktops generally offer easy access to hard drive slots, simplifying the removal process. Conversely, laptops involve intricate designs where hard drives are housed within compact compartments, potentially requiring additional disassembly. Recognizing your device type is crucial for suitable preparation.
HDDs Compared to SSDs
A clear understanding of whether your computer utilizes an HDD or an SSD will guide you in adjusting your removal approach. HDDs are bulkier and operate mechanically, while SSDs are compact and electronic. Accurately identifying your drive type aids in precise handling.
Detailed Instructions for Hard Drive Removal
Adhere to the outlined steps to remove your hard drive without trouble.
Powering Down and Disconnecting
- Confirm that your computer is powered off completely.
- Remove all power cables from the system and wall outlets.
Accessing the Computer’s Interior
- For desktops, remove screws at the back and slide open the side panel.
- Laptops often require flipping the device to unscrew elements at the underside.
- Carefully lift the case open to expose the internal components.
Identifying and Detaching the Hard Drive
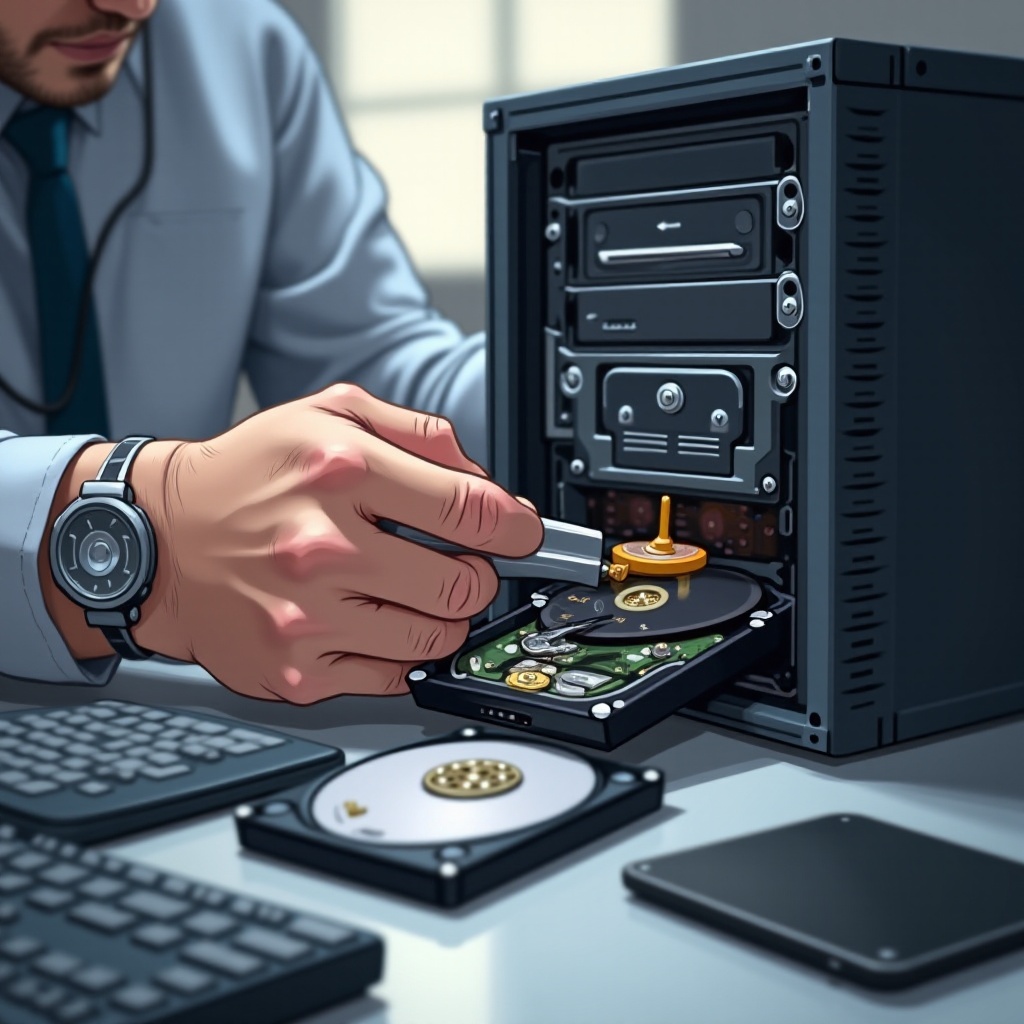
- Locate the hard drive which often resides in a bracket or dedicated slot.
- Disconnect all cables linked to the drive, noting their configurations for reinstallation.
- Unscrew brackets or secure mechanisms binding the drive.
- Gently remove the hard drive, handling it by its edges.
Executing these steps precisely ensures the drive’s safe removal without any harm to your system.
Post-Removal Considerations
Once the removal is complete, consider these aspects to ensure continued safety and preparedness.
Safe Handling and Storage of the Hard Drive
For safe storage, place the removed hard drive in an anti-static bag or equivalent protection. Proper labeling helps in avoiding any mix-up, especially when managing multiple drives.
Preparing for New Installations
Verify compatibility before installing a new drive, focusing on size and connection requirements. Confirm that all mounting brackets and connections align with your device to streamline the replacement process.
These steps will prolong your hard drive’s lifespan and make any subsequent actions like installations or replacements smoother.
Conclusion
Successfully removing a hard drive from a computer empowers you to manage upgrades or troubleshooting efforts effectively. By following this guide and observing the recommended safety protocols, both your data and device remain secure. Whether enhancing to a new drive or extracting data from an older model, carefully executing each step ensures successful task completion.
Frequently Asked Questions
What should I do if my computer doesn’t recognize the new hard drive?
Ensure that all cables are correctly connected and verify the drive’s compatibility with your system. You may also need to update your BIOS to support the new hardware.
Can I transform my old hard drive into external storage?
Yes, you can use a compatible enclosure or docking station to convert an old internal drive into external storage.
What is the safe method for disposing of an old hard drive?
Use secure deletion software to wipe personal data thoroughly. Physically destroying the drive or recycling it at a certified facility is recommended to safeguard sensitive data.